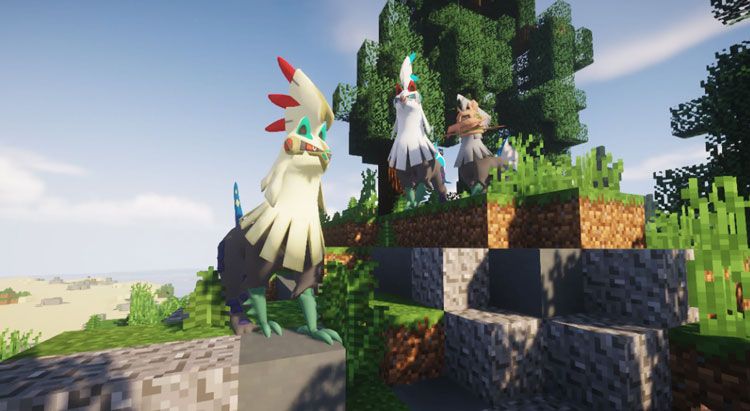
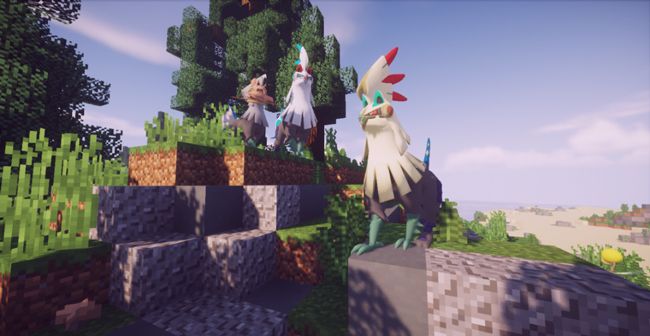
One of the most attractive aspects of Minecraft is its ability to be modified, or “modded,” by the community. What are mods?
Mods are game modifications that add new elements, change the gameplay, or even create entirely new experiences.
Installing Minecraft Forge
To start creating mods for Minecraft, you first need to install Minecraft Forge. Minecraft Forge is a tool that facilitates game modification, allowing developers to create and distribute mods more efficiently. Follow these steps to install Minecraft Forge:
- Download the latest version of Minecraft Forge from its official website.
- Open the file you just downloaded and follow the instructions to install Forge.
- Open Minecraft and select the Forge profile in the launcher.
- We teach you more in this article on Forge installation
Creating a Mod
Now that you have installed Forge, it is time to start creating your own mod. This process requires some essential tools and the proper configuration of your development environment.
First, you will need a text editor to draft the code for your mod. Although there are several options available, I would recommend using an Integrated Development Environment (IDE) such as IntelliJ IDEA or Eclipse. These IDEs are especially useful for programming in Java, the language in which Minecraft mods are written, as they offer specific tools that facilitate this process.

Regarding the configuration of your development environment, you will need to follow some essential steps. First, if you have not already done so, download and install the Java Development Kit (JDK). Next, open your IDE and create a new project. Finally, configure the project to use the JDK you just installed.
By following these steps, you will have everything ready to start programming your Minecraft mod.
Programming the Mod
Before diving into programming your mod, it is essential to configure some basic files. This includes the build.gradle file, which contains information on how to compile your mod, and the main file of your mod, which houses the main code.
The first step in actual programming is the creation of objects, which can be blocks, objects, entities, etc. To create an object, it is necessary to define its properties in a class. For example, if you want to create a new block, you will have to define aspects such as its name, texture, hardness, and resistance to explosions.
Once an object is created, it must be registered so that Minecraft recognizes it. This registration is done in the preInit method of your main class.
Subsequently, recipes must be created, which are the instructions that players must follow to create objects in the game. For example, to create a pickaxe, it is necessary to place three iron ingots and two sticks on a workbench. To add a new recipe to your mod, you must define it in the code and then register it.
It is also important to program events, which are actions that occur during the game, such as when a player breaks a block or an entity receives damage. Your mod can react to these events in different ways. For example, you could program an event that causes an explosion every time a player breaks a specific block.
If your mod adds objects that require a Graphical User Interface (GUI), you will have to create it. GUIs are the screens that players see when interacting with objects such as workbenches, ovens, etc.
Finally, after programming your mod, it is crucial to test it to make sure it works correctly. This includes testing all the features of your mod, such as objects, recipes, events, etc., and making sure they do not cause errors or conflicts with other parts of the game.
Tips for Mod Programming
- Learn Java: Minecraft is programmed in Java, so you will need to have a good knowledge of this language to create mods.
- Use an IDE: An Integrated Development Environment (IDE) is a tool that will help you write, compile, and test your code. Some popular IDEs for Java programming are IntelliJ IDEA and Eclipse.
- Study the Code of Other Mods: A good way to learn how to program mods is by studying the code of other mods. There are many open-source mods available that you can study to learn how they work.
- Test Your Mod: Before distributing your mod, make sure to test it thoroughly to ensure that there are no errors or conflicts with other mods or the game itself.
- Ask for Feedback: After creating your mod, it is helpful to ask for feedback from other players to know what they think of your mod and if there is any feature that you should add or change.
Remember, mod creation is a creative process, and there is no single “correct” way to do it. Experiment, be creative, and have fun creating your own world in Minecraft.
Learn in more depth how to create a new mod:
Mod Testing
Before distributing your mod to the community, it is important to test it to make sure it works correctly. To test your mod, follow these steps:
- Compile your mod in your IDE.
- Copy the resulting file into the “mods” folder of your Minecraft installation.
- Open Minecraft and select the Forge profile in the launcher.
- Play the game and test your mod.
If you find any problems, go back to your code and try to solve them. Repeat this process until you are satisfied with the functioning of your mod.
Mod Distribution
Once you have finished creating and testing your mod, the next step is to share it with the Minecraft community. This is a crucial process that requires attention to certain important details.
First and foremost, you must make sure you have the necessary permissions to distribute any content
that is not your own. This is especially relevant if your mod includes elements such as textures created by others. In such a case, it is essential to obtain permission to use and distribute those elements.
Next, prepare a compressed file that contains all the necessary files to install your mod. This file will facilitate the installation of your mod by other players.
The next step is to upload your mod to a website specialized in the distribution of Minecraft mods, such as CurseForge or Planet Minecraft. These sites are frequently visited by players looking for new mods, so they are the ideal place to share your work.
Finally, do not forget to promote your mod on social networks and Minecraft forums. Sharing your mod in these spaces will help you make it known to a wider audience and receive valuable feedback from the community.
Maintenance and Update of the Mod
After distributing your mod, it is important to keep it updated and correct any errors that players may find. Here are some tips for maintaining and updating your mod:
- Receive feedback from the community: Listen to the players who use your mod and take into account their suggestions and error reports.
- Update your mod regularly: Make sure to update your mod to be compatible with new versions of Minecraft and Forge.
- Correct errors: If players find errors in your mod, try to correct them as soon as possible.
More on Minecraft

